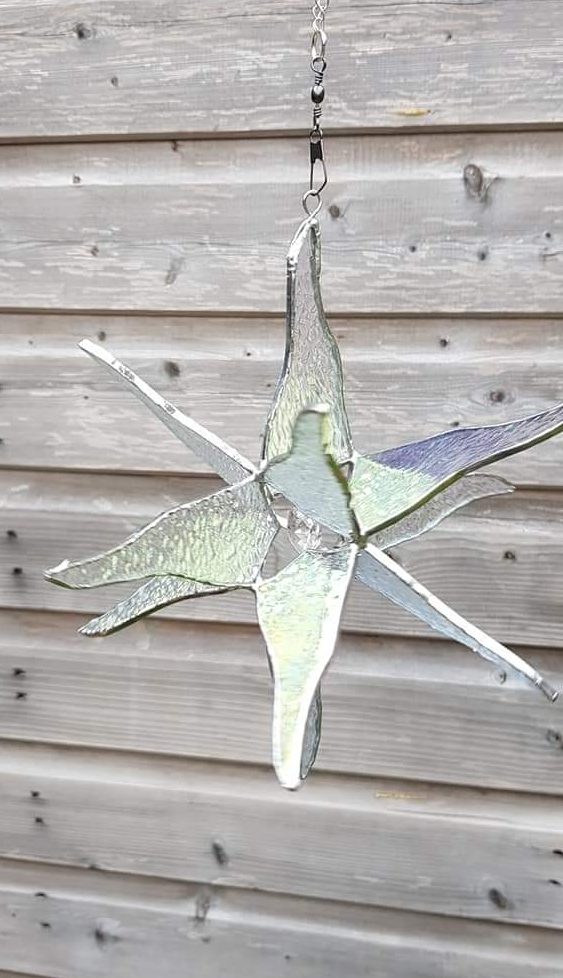
Moravian Stars
These are far easier than they look at first, as long as you have the patience to make sure everything is straight as you construct the piece. By changing the shape of the points, you can make the piece far more visually interesting.
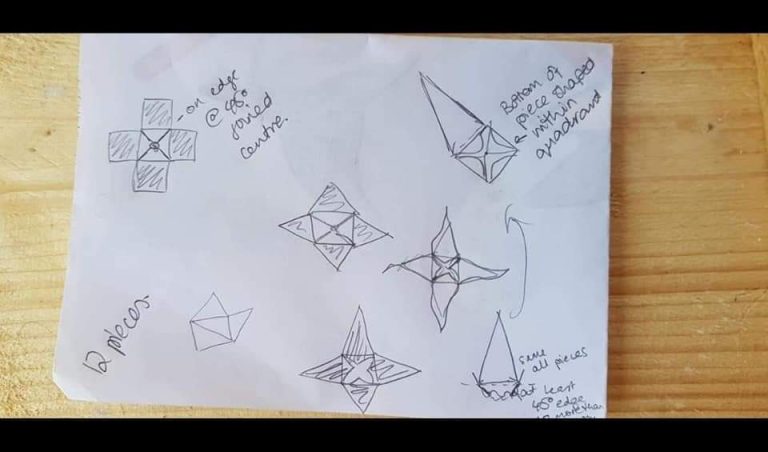
Step 1
Make a plan - you can do these as a closed or open piece, and in this case, an open piece is being made because it keeps the weight down, and allows a lot more twinkle.
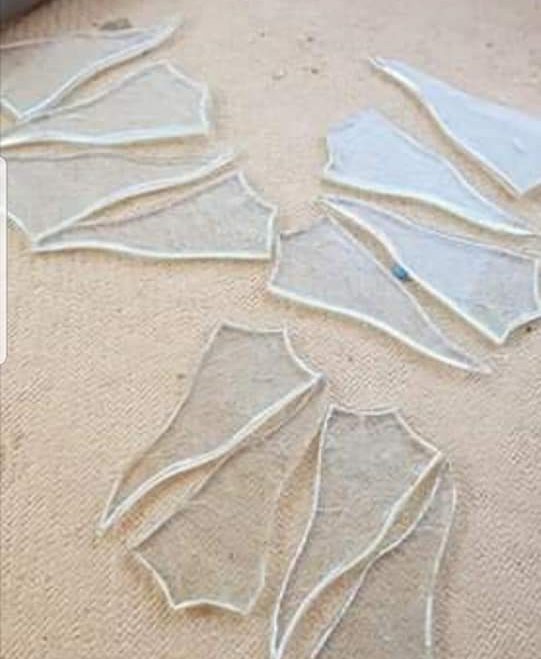
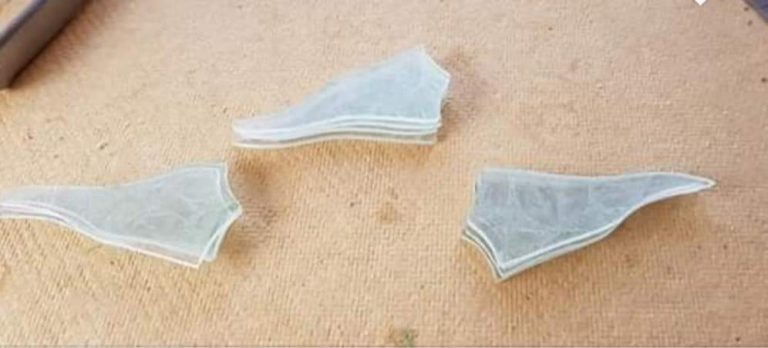
Step 2
Cut twelve matching pieces
Step 3
Grind the pieces carefully - they need to be as close as possible to being all the same size.
Step 4
Collect together your twelve pieces, and foil carefully.
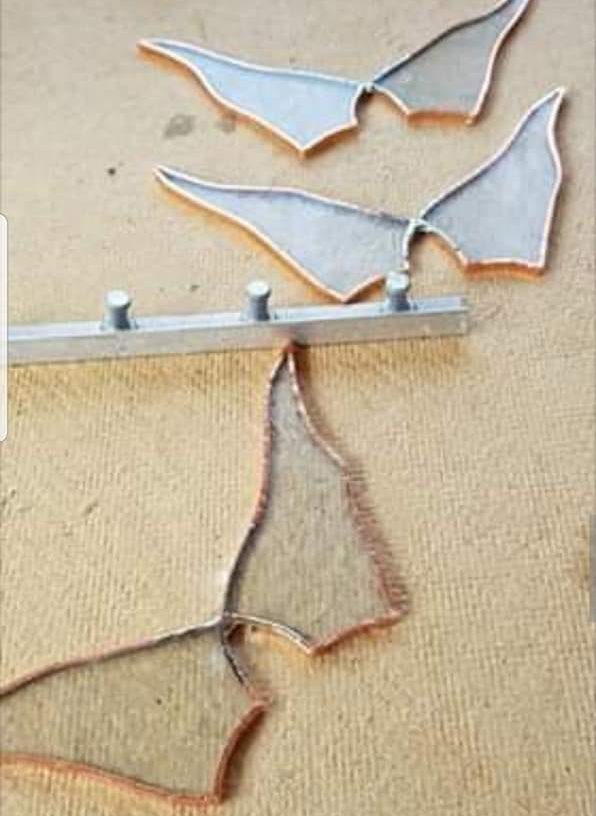
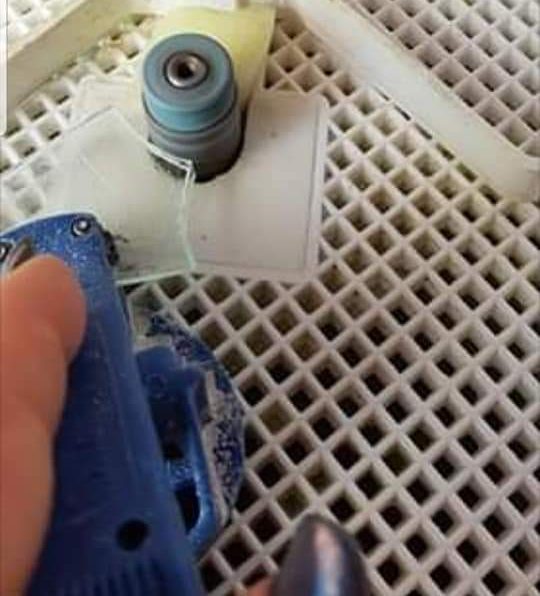
Step 5
Set three pairs of the pieces and join at 90 degrees. All the pieces will need to be beaded well for strength.
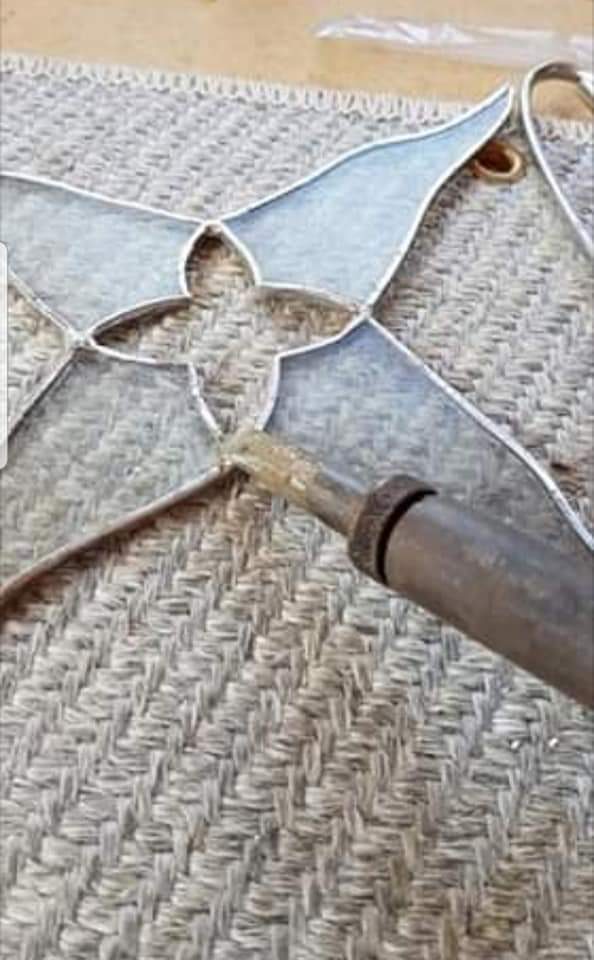
Step 6
Join two of the pairs together - this will be the centre of your star.
Step 7
Join the third pair at 90 degrees to the four base pieces you have put together. I use a "third hand" with jeweller's tweezers to keep the glass steady as I solder it to the base.
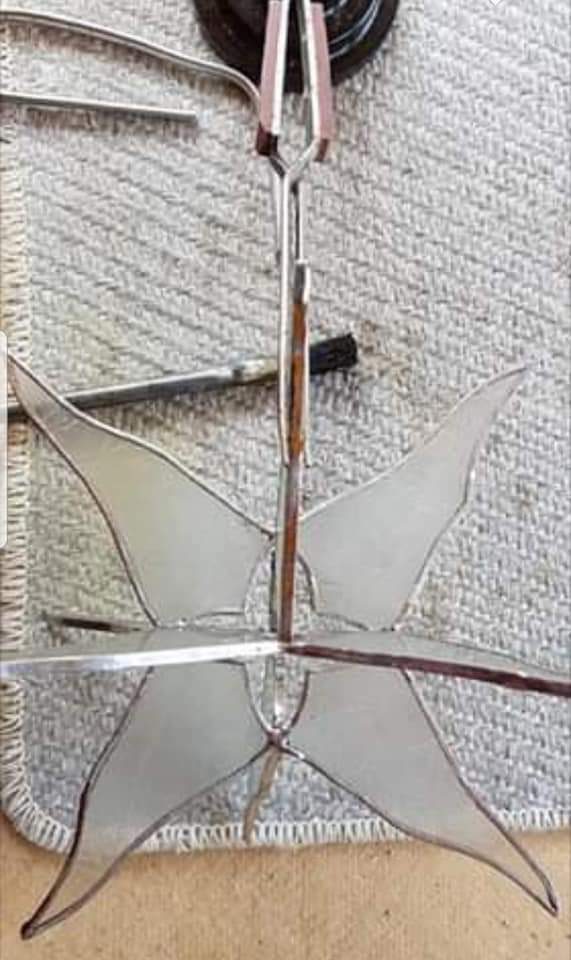
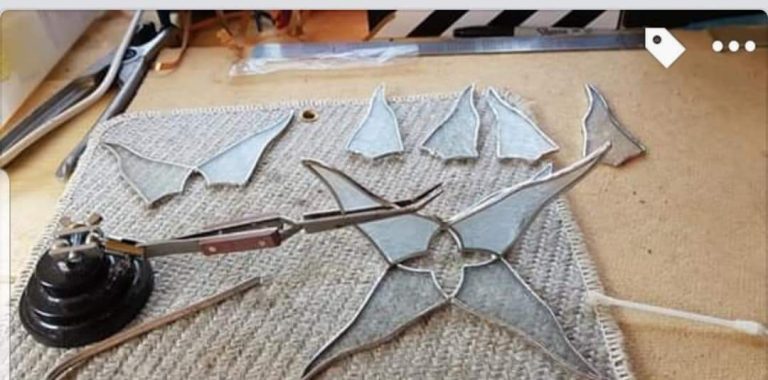
Step 8
Using the tweezers, hold one of the single pieces at 90 degrees to the pair, and solder together. Then do the same on the opposite side. Flip the star on to the four points now in place, and carry out the same action on the other side.
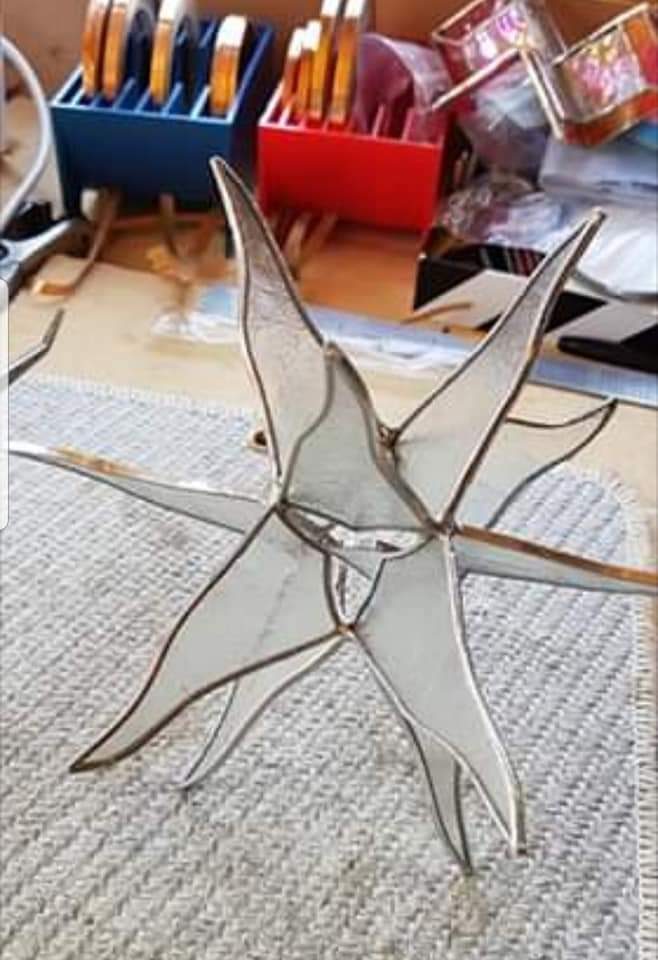
Step 9
Now that the piece is together, you can give it a good clean and get it out in the sunshine!
©Copyright. All rights reserved.
We need your consent to load the translations
We use a third-party service to translate the website content that may collect data about your activity. Please review the details in the privacy policy and accept the service to view the translations.